


At least We are creating a basic one view application that will run on the iOS simulator.
Please follow these steps.
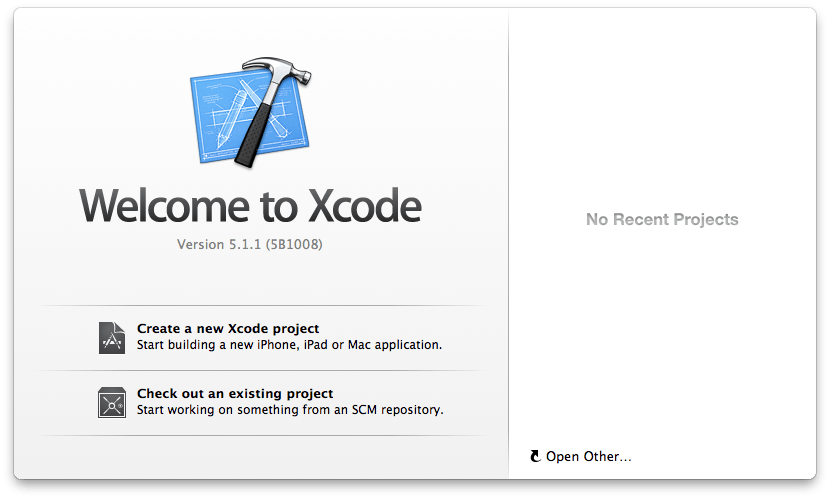
Step 1 − After successful download opens Xcode software and click on Xcode project.

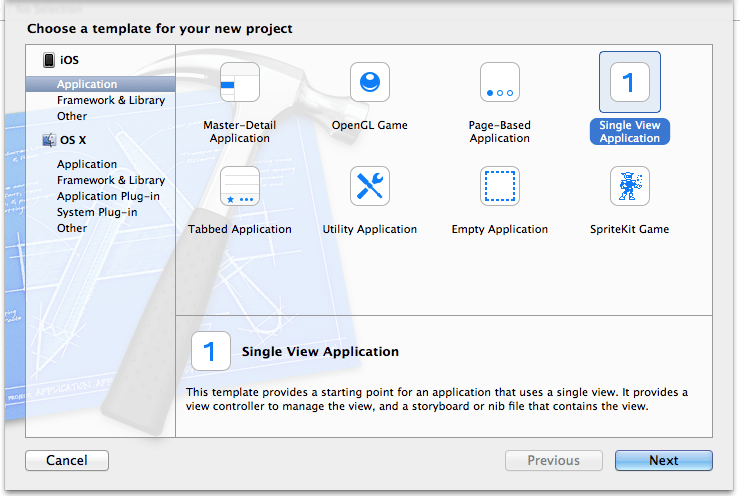
Step 2 − Now in wizard box Select Single View Application for creating a basic simple app

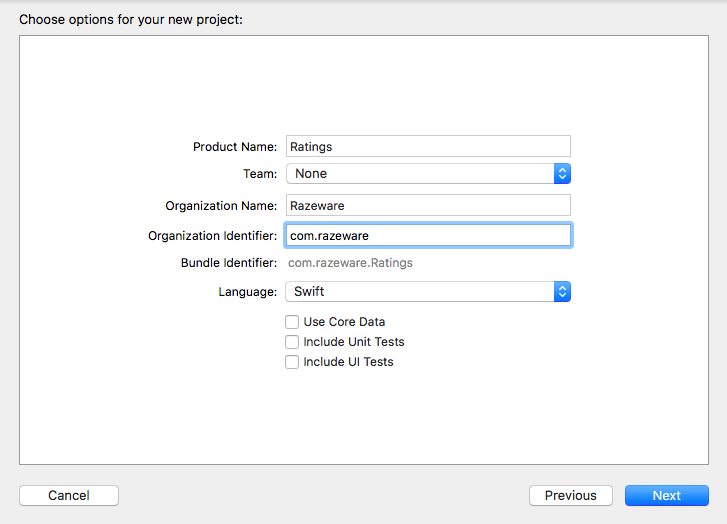
Step 3 − Now this time gives the name of your application and also enter Organization name, Organization Identifier.
Select your favorite language from drop-down for creating app and language list are below
- Objective C
- Swift

Step 4 − Please select the Use Automatic Reference Counting.
Suggested Post: How to Register as an iOS Developer – DIY Tips
What is Automatic Reference Counting?
Swift uses Automatic Reference Counting (ARC) to track and manage your app’s memory usage. In most cases, this means that memory management “just works” in Swift, and you do not need to think about memory management yourself. ARC automatically frees up the memory used by class instances when those instances are no longer needed.
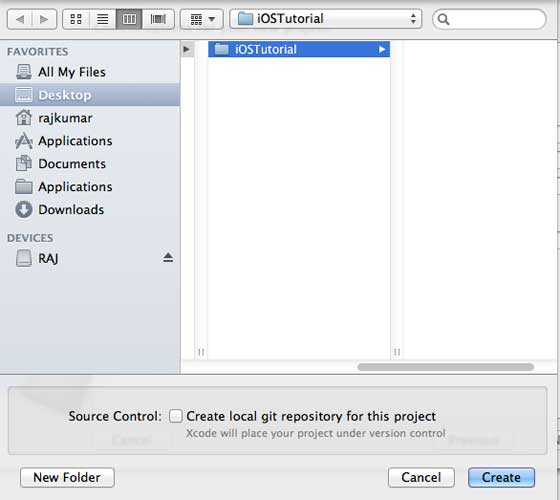
Step 5 − Now select folder for the project and click on create button.

Step 6 − After click on create button a next window opened for select your app’s orientation −
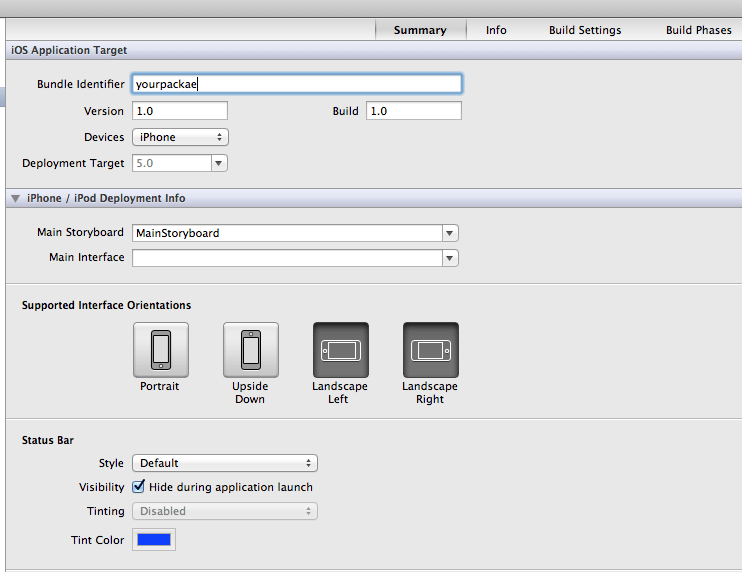

In above screenshot, you can able to select orientation like portrait, landscape mode and also you can set build and release settings. when we create the app you select minimum deployment target like as an Android API level jellybean, lollipop, marshmallow etc.
There is a field deployment target, the device version from which we want to support, lets select 4.3, which is the minimum deployment target allowed now. For now, these are not required and let’s focus on running the application.
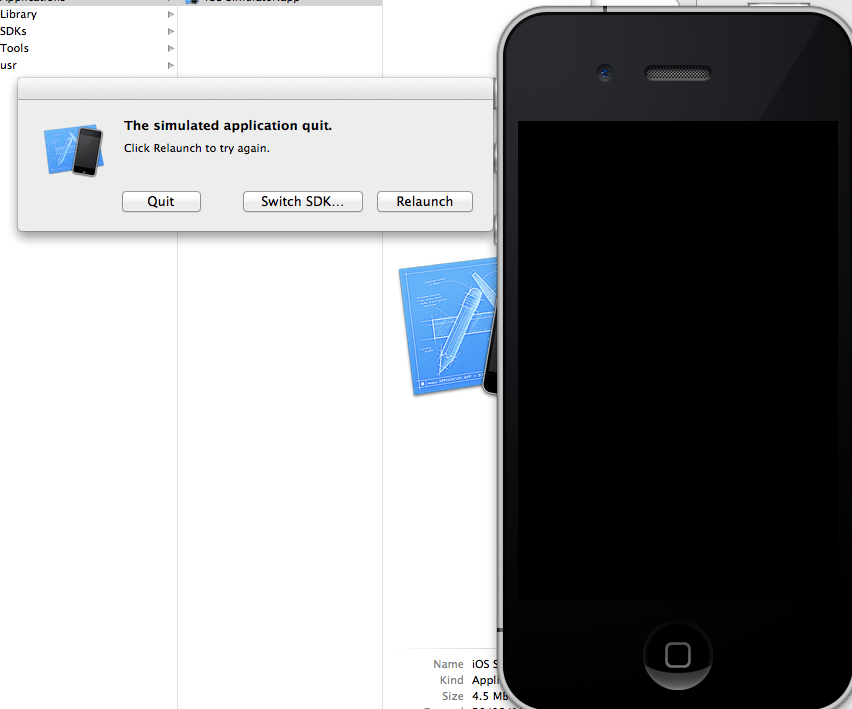
Step 7 − This time to select your iPhone simulator for run app as a real environment after clicking on run button
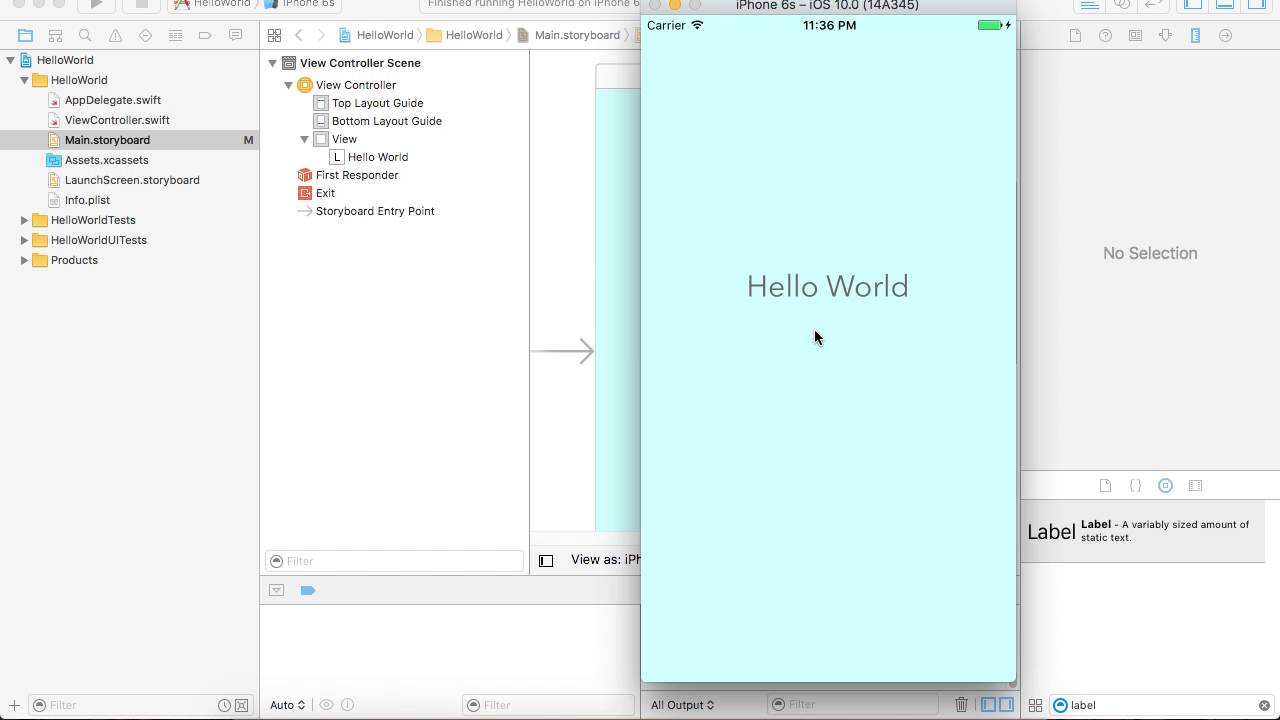
Step 8 − And now your first application successfully run. Output is view in simulator is below −

We change the background color just to have a start with the interface builder. Click on ViewController.xib. next step click on background option on the right side, change the color and run it again.

In the above project, by default, the deployment target would have been set to iOS 6.0 and auto-layout will be enabled. To ensure that our application runs on devices that are on iOS 4.3 onwards, we have already modified the deployment target at the start of the creation of this application, but we didn’t disable auto-layout.
To disable auto-layout, we need to deselect the auto-layout checkbox in the file inspector of each nib, i.e., the xib files. The various sections of Xcode project IDE are given in the following figure (Courtesy: Apple Xcode 4 User documentation).
Related Post: How to be a Member of Apple Developer Program
File inspector is found in the inspector selector bar as shown above and auto-layout can be unchecked there. Auto-layout can be used when you want to target only iOS 6 devices. Also, you’ll be able to use many new features like passbook if you raise the deployment target to iOS 6. For now, let’s stick to iOS 4.3 as the deployment target.
You can also learn how to create a virtual device in the android studio.
Our First iOS Application code files
Now you find different five files they are following −
- AppDelegate.h
- AppDelegate.m
- ViewController.h
- ViewController.m
- ViewController.xib
Conclusion of our first ios application code −
- AppDelegate inherits from UIResponder that handles iOS events.
- Implements the delegate methods of UIApplicationDelegate, which provides key application events like finished launching, about to terminate and so on.
- UIWindow object to manage and coordinate the various views on the iOS device screen. It’s like the base view over which all other views are loaded. Generally, there is only one window for an application.
- UIViewController to handle the screen flow.