


What is Debug?
Debuggers are software tools Thoptv app which enable the programmer to monitor the execution of a program, stop it, restart it, set breakpoints, and change values in memory. The term debugger can also refer to the person who is doing the debugging.
What is Android Application Debugging?
Android Developer when test the application that time developer has monitored application performance, memory management, execution time etc. this type of debugging in Android is called Android Application Debugging.
Debug configurations are created much the same way, but are used to configure the options for launching and debugging applications. To create a debug configuration for your application within Android Studio, choose Run ->Debug Configurations…. Double-click on Android Application (or right-click and choose New).
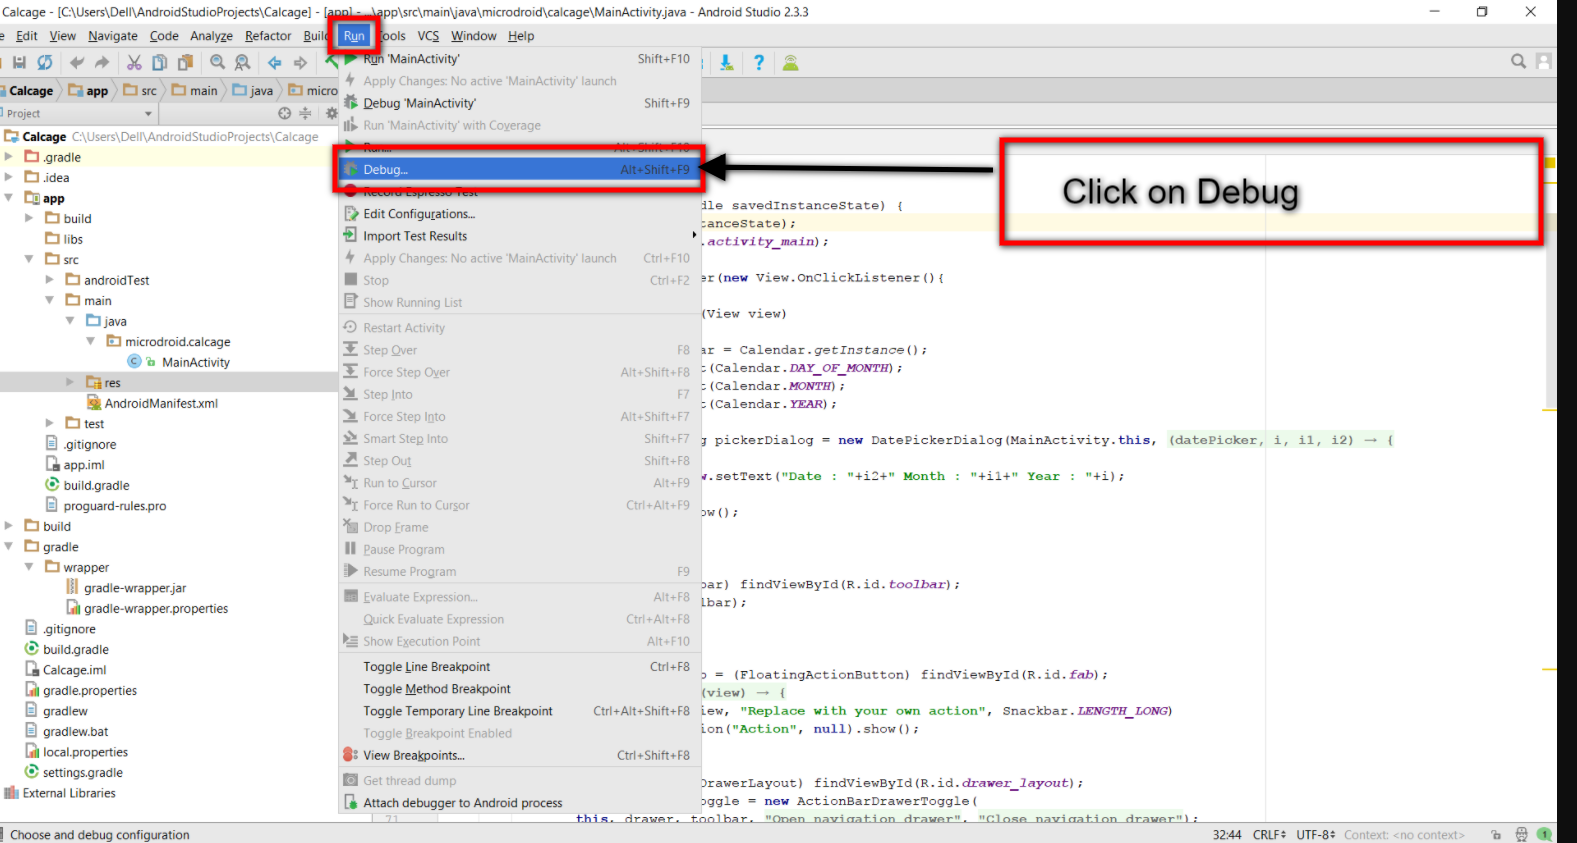

Shortcut key for Android Application Debugging in android studio – Alt + Shift + F9
Android WIFI ADB
Provides an action which allows you quickly connect your Android device to WiFi to install, run and debug your applications without a USB connected by pressing one button.
Connect your device using a USB cable and press the Android WiFi ADB button. Once the device is connected to WiFi you’ll see an IntelliJ/Android Studio notification. Now you can disconnect your USB cable and enjoy deploying, running and debugging your applications over WiFi.
The version 2.0 enables a window to check which of your devices are connected or not and connect/disconnect it manually if needed.
Recommended Post: Kotlin – A New Programming Platform For Android Developers
Android Wifi ADB – You can download the plugin from the JetBrains plugin site and install it manually in: Preferences/Settings ->Plugins ->Install plugin from disk this is the alternative.
Android wifi debugging step by step process
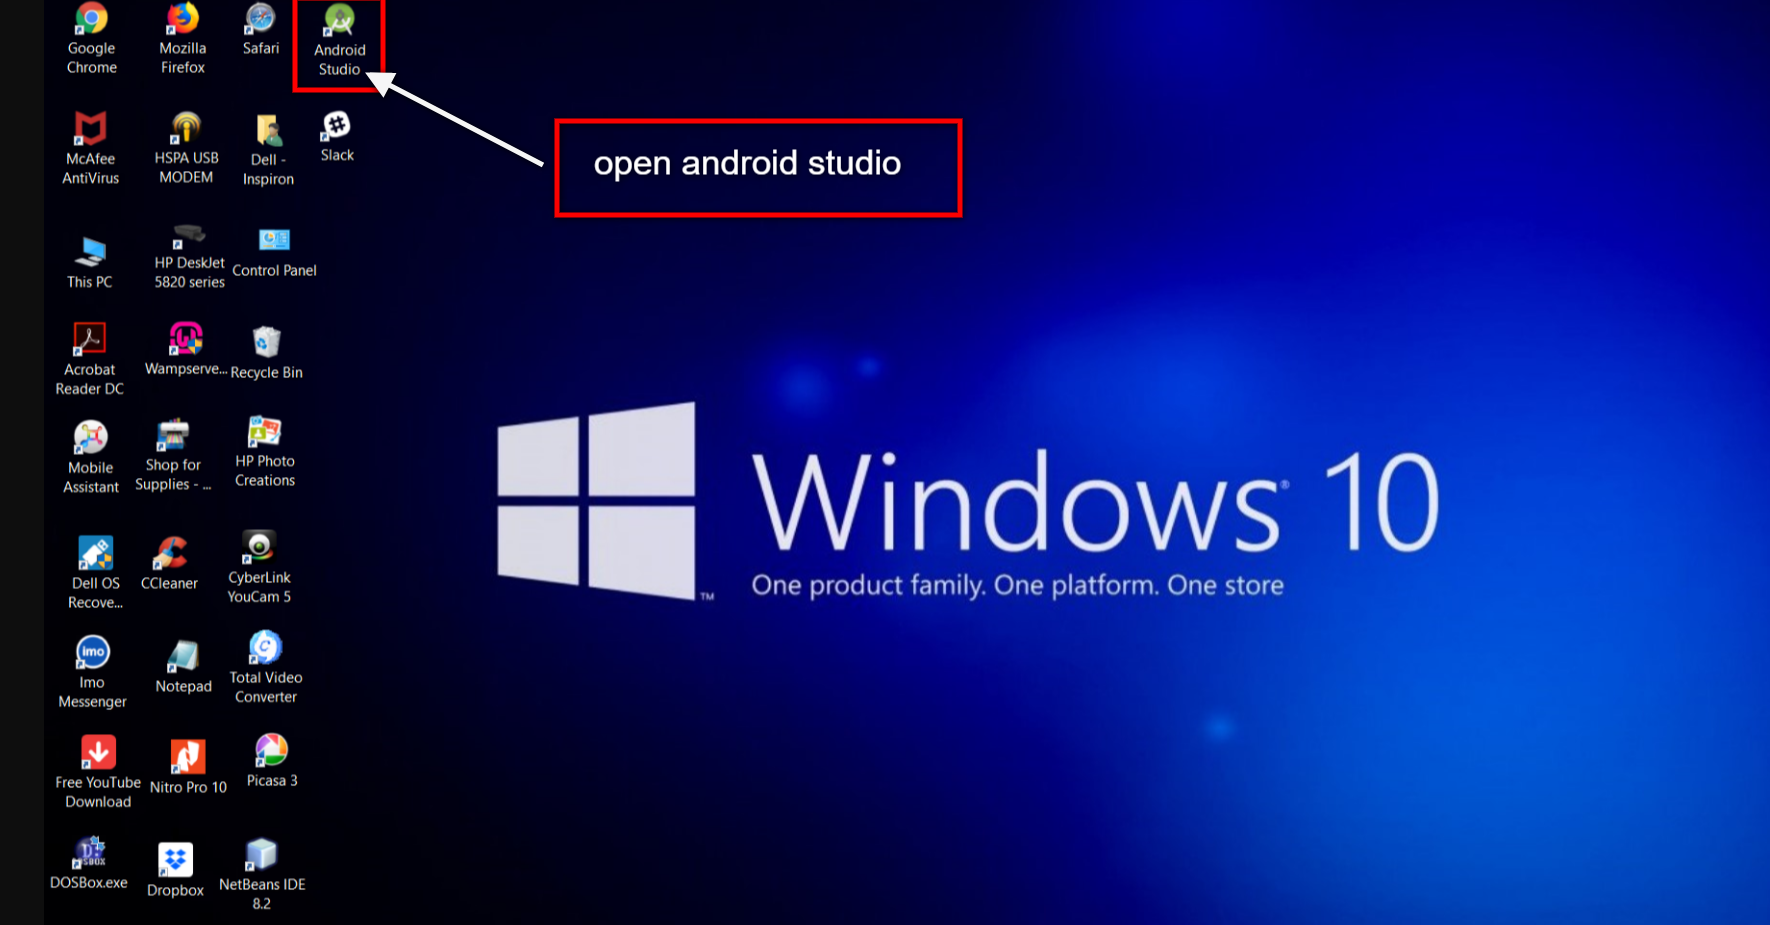
- Open Android Studio (i have 2.3 version)

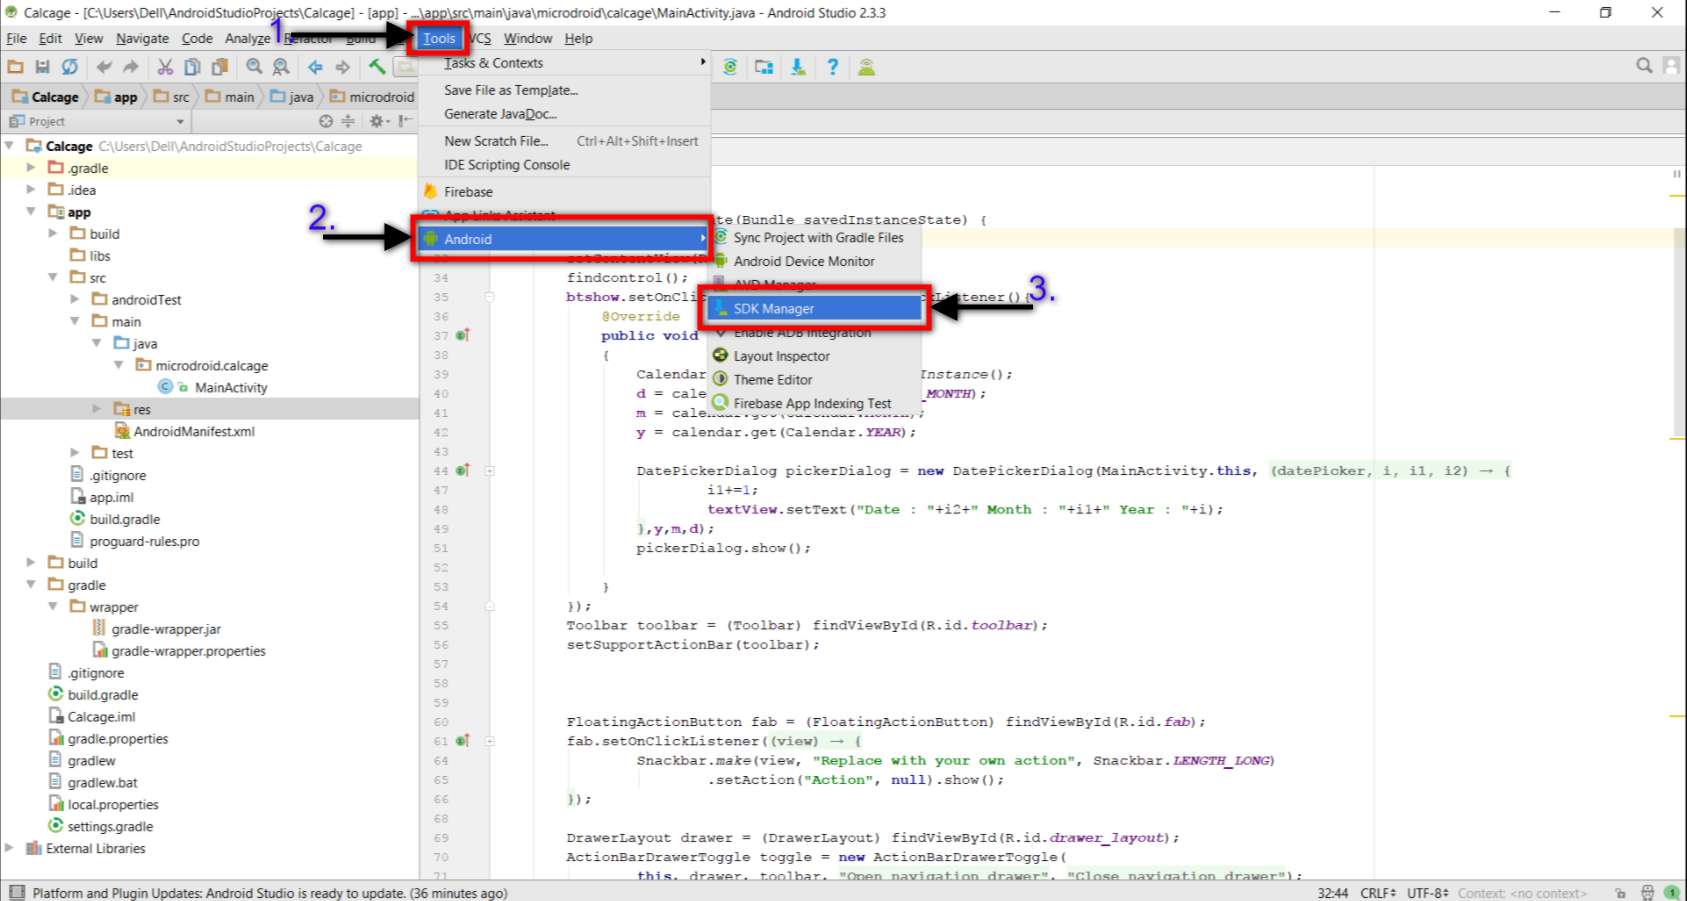
- Go to Tools -> Android -> SDK Manager

- A new window is opened with name of Default Settings .
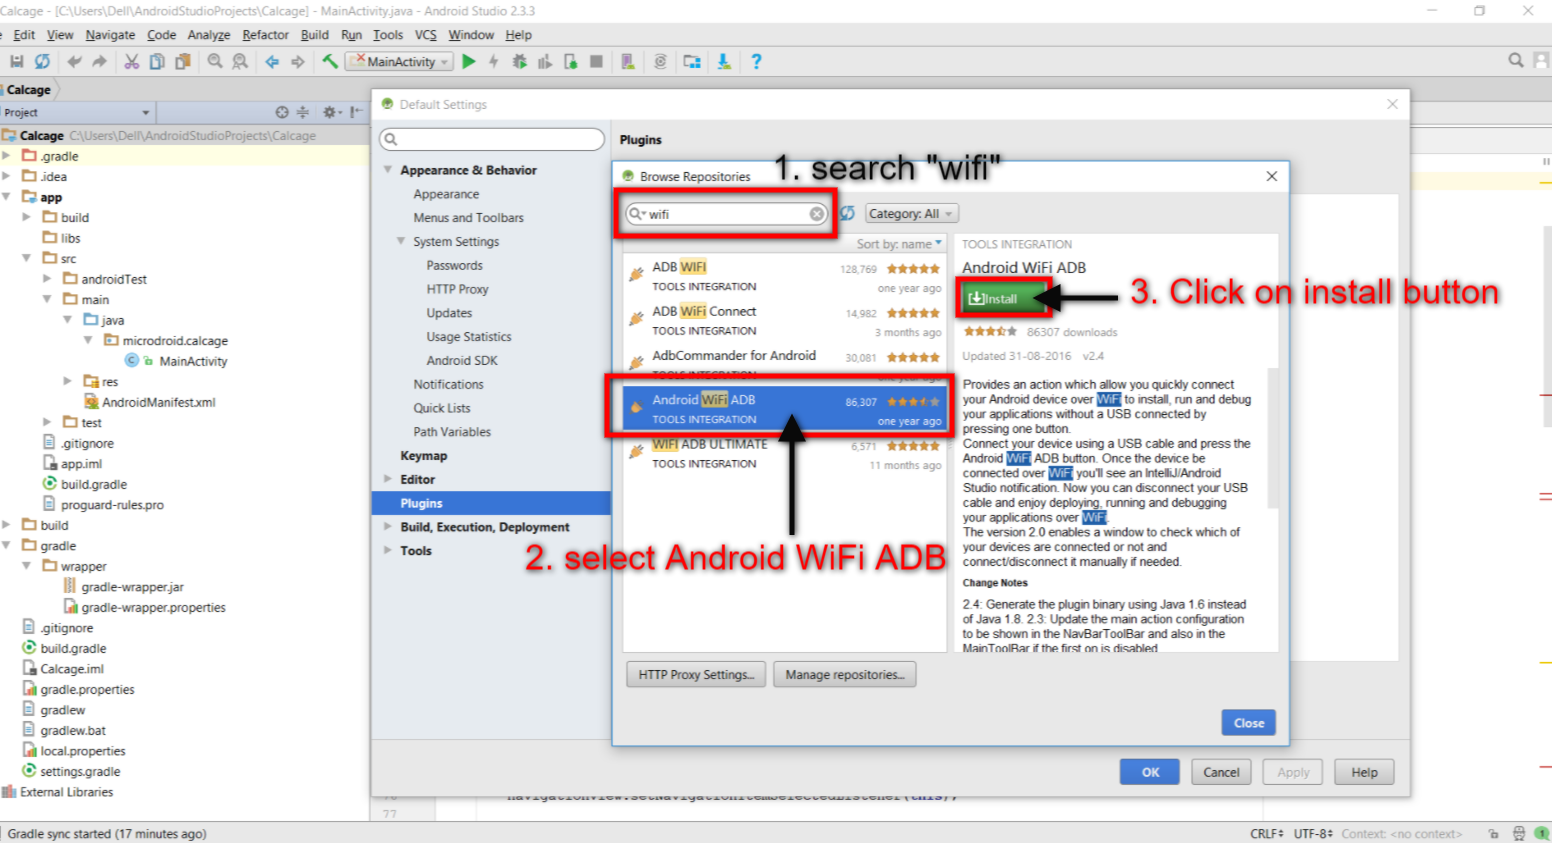
- Select the Plugins tab
- Click on Browse repositories button


- A new window is opened name is Browse Repositories
- In search bar search keyword “wifi” and select Android WiFi ADB
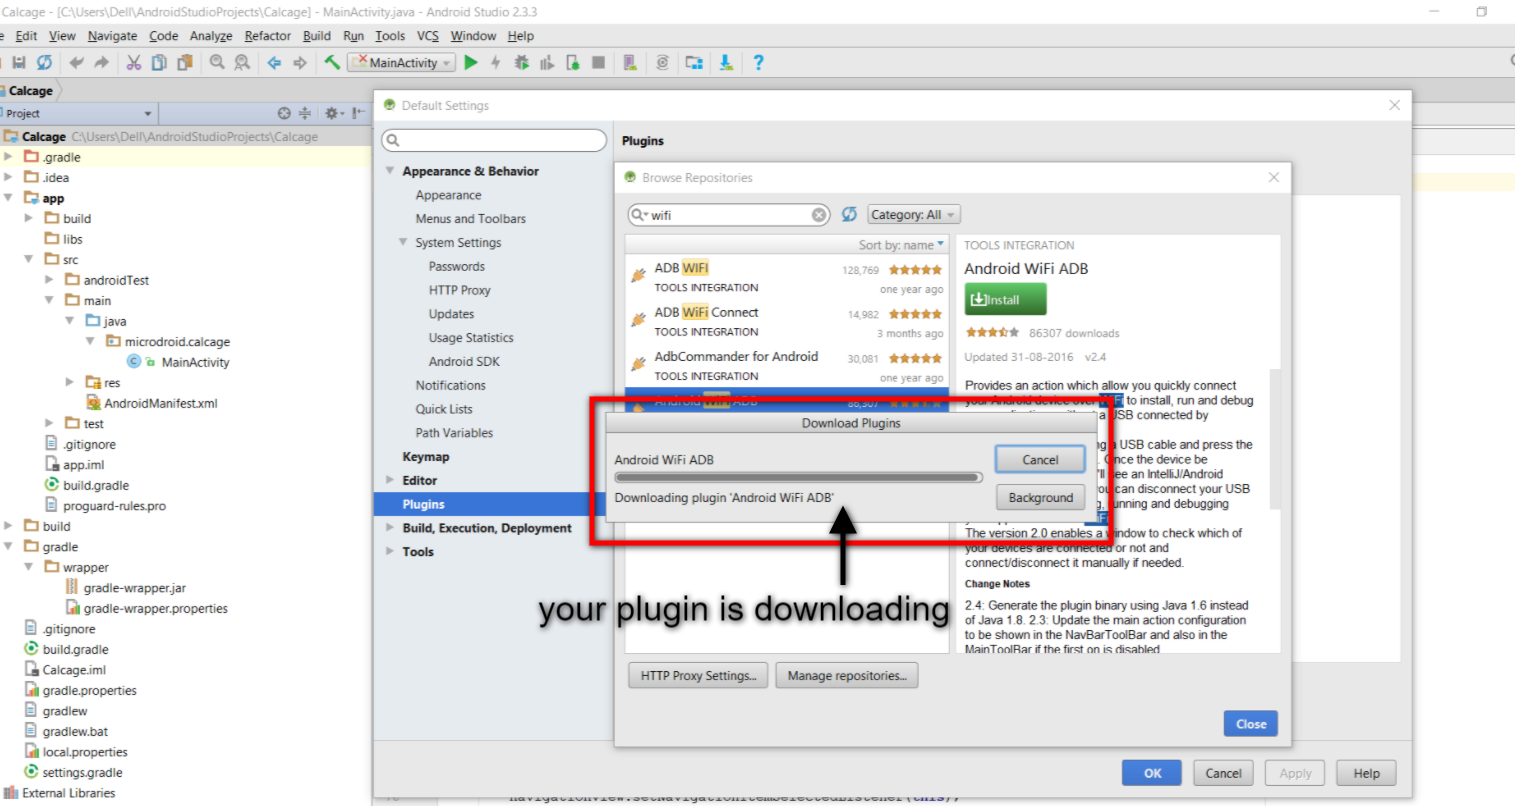
- Install it

- Now your Android WiFi ADB plugin is downloading

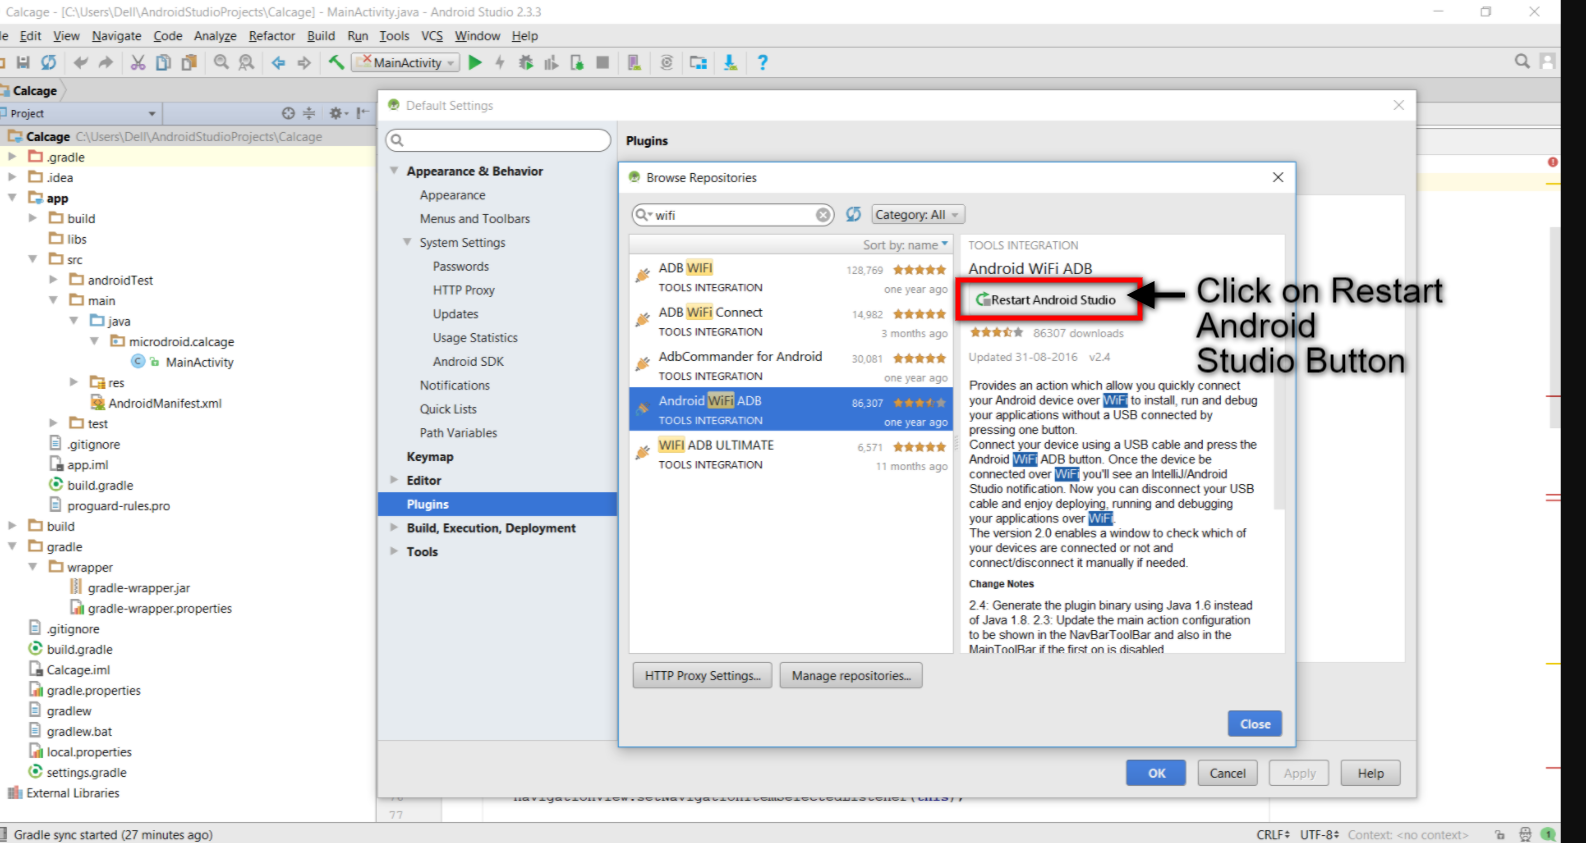
- Restart Android Studio

- Connect your mobile to laptop only once time using USB cable
- After connecting click on Android WiFi ADB tab
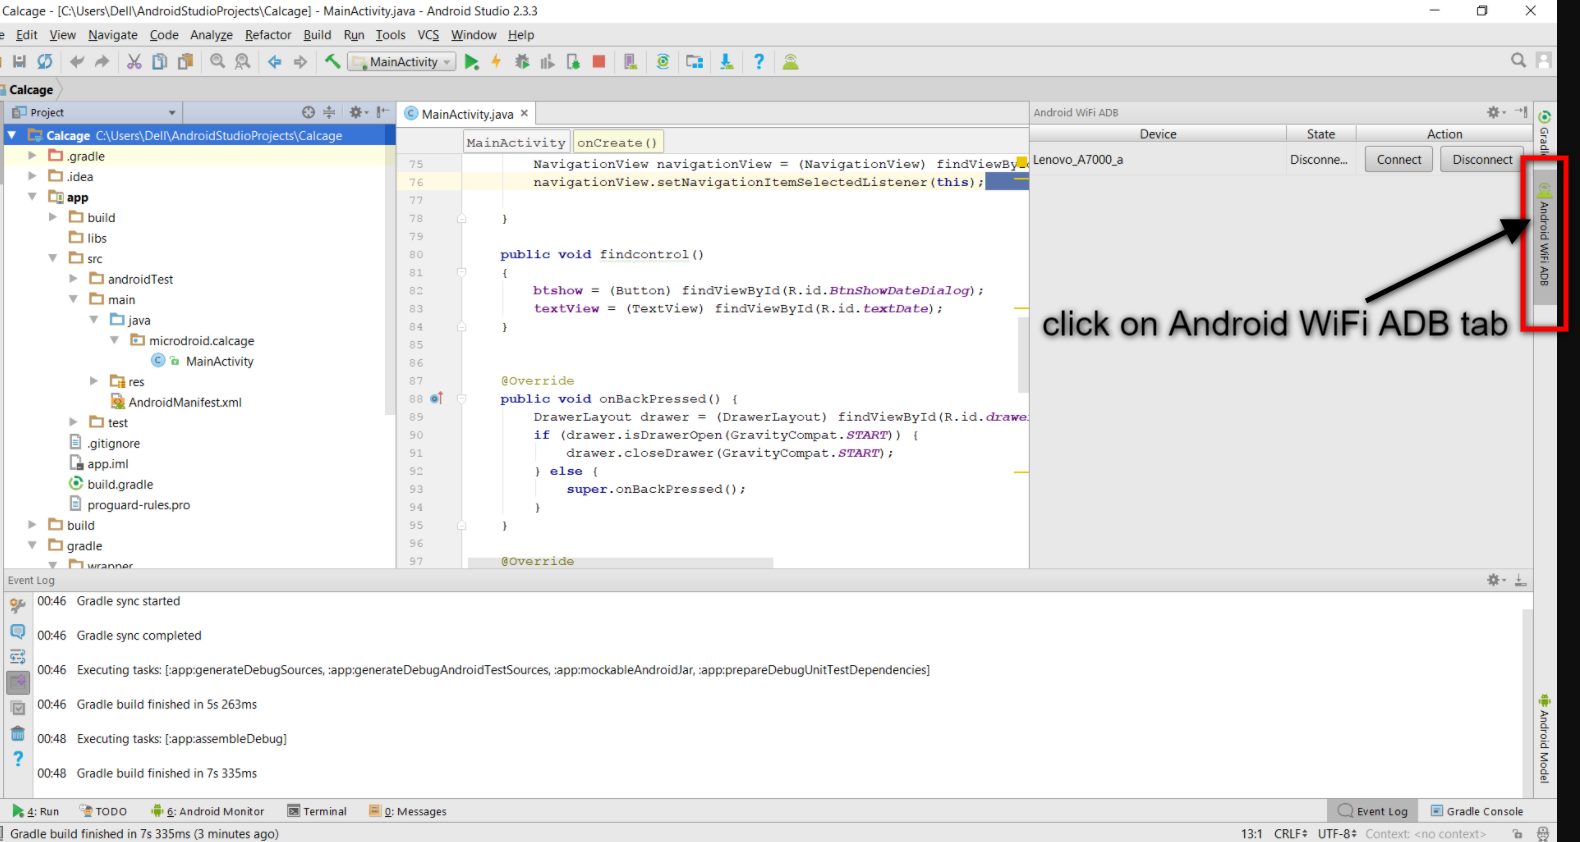

- In this window, your device is listed and show two buttons (Connect and Disconnect)
- Click on connect button
- But Before click on connect button make sure that your computer and your device are connected to the same WiFi network.
- Then click on connect button
- And remove the USB cable
- You are ready for debugging your app using WiFi let’s enjoy it.
Related Post: How to Create Virtual Device on Android Studio
Conclusion
In this tutorial, you’ve learned the basics of debugging Android applications with using Android WIFI ADB plugin in Android Studio. You learned how to navigate in debug mode, using the Debug perspective, and how to step through your wifi and view output on your device. You’ve learned about debugging on real devices. You now have a handle on the basic skills that are required to get started developing real-world Android applications. You’re well on your way to Android development. What kinds of apps are you looking forward to creating? Which sample app was your favorite? Let us know in the comments!