


Online webinars facilitate and secure communication with customers, employees, partners, and consumers. Webinars are multimedia activities that combine HD video, integrates audio, live polls, and more to engage audiences from anywhere. You can make presentations, display products, and at the same time, send messages to thousands of people around the world.
But the difficult part is that it can be challenging to remember all the information mentioned in the webinar.
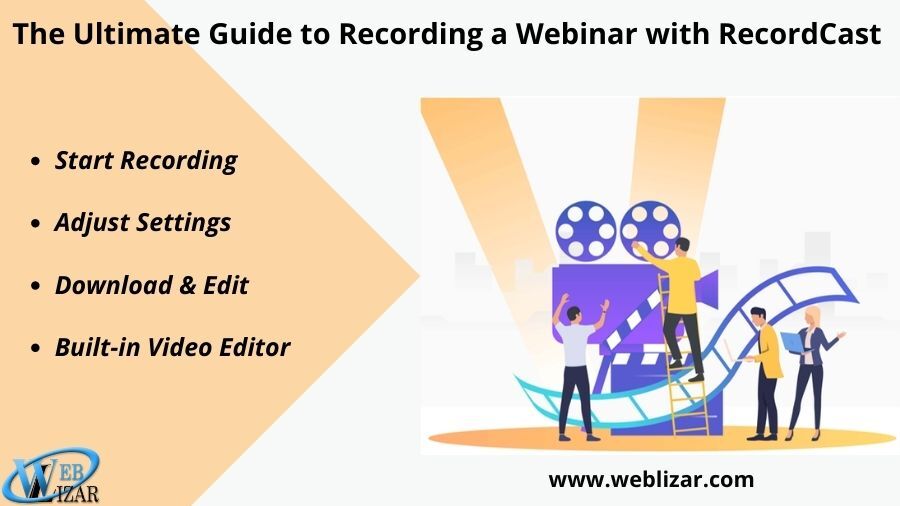
If we could record the important information we want in the presentation, that would be gorgeous. Then we need to choose a suitable website to record a webinar. It may take a long time to find a great recorder, but the effort is worth it. Here, I’ll cover RecordCast screen recorder in this article. Recording a webinar with RecordCast is quick and easy. Let’s take a look at this tool.
About RecordCast
Many marketers around the world rely on RecordCast to generate demand quickly and efficiently. RecordCast is an online screen recorder for all people, even non-experienced users. Whether you use Windows, Linux, or macOS, it all runs through a web browser only, and the functionality is the same without overdoing any other operating system.
I’m going to highlight this web application, RecordCast, a type of screen recorder application that runs online through a web browser. You do not need to install anything on the computer. As long as you have a web browser, you can already use RecordCast. Yes, you can record your screen ready with the screen and webcam.
How to record with RecordCast?
If you notice, the way to use it is very easy. Anyone can read and press the basic buttons on the RecordCast page. Once you have finish the recording, you will be given the option to download the video to your computer or export it to its video editing to polish it.
At RecordCast’s homepage, you only need to press the “Start Recording” button to launch the tool. You will then be given three options, namely whether to make screen recordings with webcam, screen only, and webcam only.
Here I have selected screen only and click “Next Step”. Here, you will be given a few more options, namely whether you want to make a recording with a microphone and system audio, microphone, system audio, or without audio. Choose the option you think best.
Recordcast Features
Next, you just need to select “Start Recording”, and choose the recording area. RecordCast allows you to record your whole computer screen, application window, and even a Chrome tab. Click the share button to record until you finish what you want to record. With this free screen recorder, you can record a video for up to 30 minutes.
I think the period is long enough for many of us, plus you do not even need to register an account to use it. Keep clicking “Start Recording,” and you can get quality videos from this application.
Download and edit
Not to forget that RecordCast also has a video editing application on its site. After the recording is finishes, you can download the video to a WEBM file on your computer. Otherwise, make some editing to the recording and export it in MP4 in a high resolution. With the help of the RecordCast video editor, you are able to add the image to the recordings as well. Besides, you can add text annotation and adjust its font, color, etc.
You can also split the video clip and delete which you don’t want. Once you are satisfied with the whole video, choose a resolution from the three options: 480p, 720p, 1080p. Then export it to your computer in MP4 format. There won’t be any watermarks on the output videos.
Final opinion
RecordCast is a two-in-one tool for screen recording as well as video editing. If you have an important webinar to be recorded, choose RecordCast. It will help you remember all the critical things in the presentation. Just take a look now.